Whether it’s a personal or professional project you’ve got in mind, using labels is a quick and easy way to get organized while adding a personal touch. With our many free templates, you’re guaranteed to find a style to suit your workspace, classroom, business or home. Customize the template by hand or upload your branding to access a collection of Smart Templates automatically customized to fit your brand. To get started, check out the 5-step guide below to find out how to make labels that look neat and stand out.
How to make labels
Used habitually by the highly organized among us, labels have many handy uses. Use them if you’re mailing a gift and want to add a personal touch, tidying out a storage space and looking to add more order, sending out a mass mail drop for your business, or crafting with the kids.

Haven't signed up yet?
Give us a try.
 Sign up with Google
By signing up you agree to our Terms of Service and Privacy Policy
Quick and easy
Our intuitive, drag-and-drop editor makes creating on-brand content quick and easy.
More features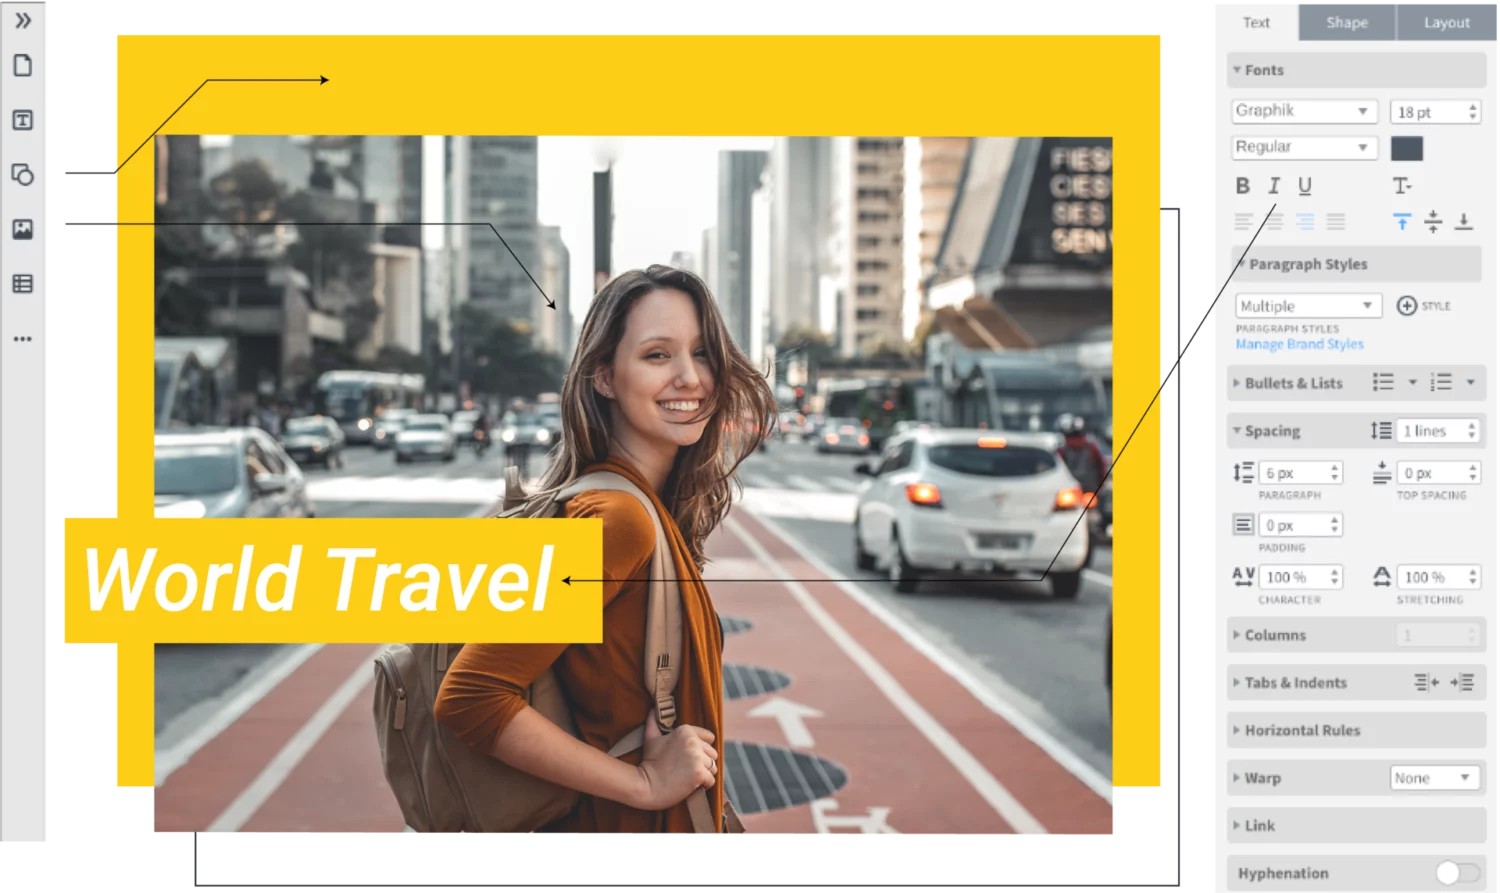
Grow your brand
Advanced template locking empowers team members to customize co-owned templates — without going off-brand, in turn helping ensure content remains consistent.
More features
Empower your team
Share templates and brand assets with multiple team members and assign team roles to control who has access to what.
More features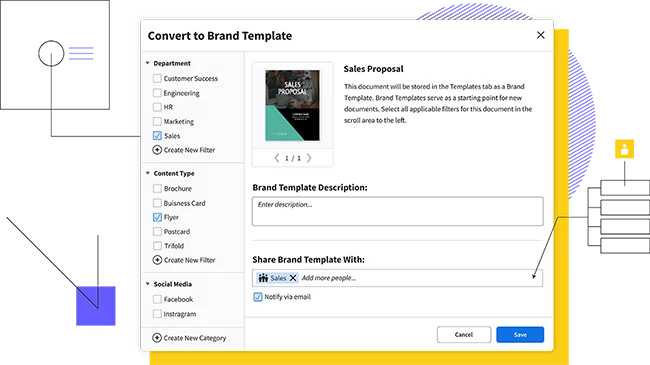
How to create labels: a 5-step guide
Step 1: Choose your label sheets
Before the fun begins and you can get to work designing your very own custom label, it’s important to choose the type of label sheets you’ll print on. Whether you’ll be sticking with popular brand Avery or purchasing an alternative, be clear about the size you’re getting—you’ll need to know this when you start your design.
Setting your label template up for the very first time can be a daunting task. Regardless of whether you’re using a template for a full sheet or a single label, you’ll need to make sure the layout of the document fits the label sheets you’ve bought.
Check the packaging or instructions that come with the label sheets for further information on sizes, borders and alignment. For best results, try centralizing the design, and be careful with borders, colored backgrounds and images.
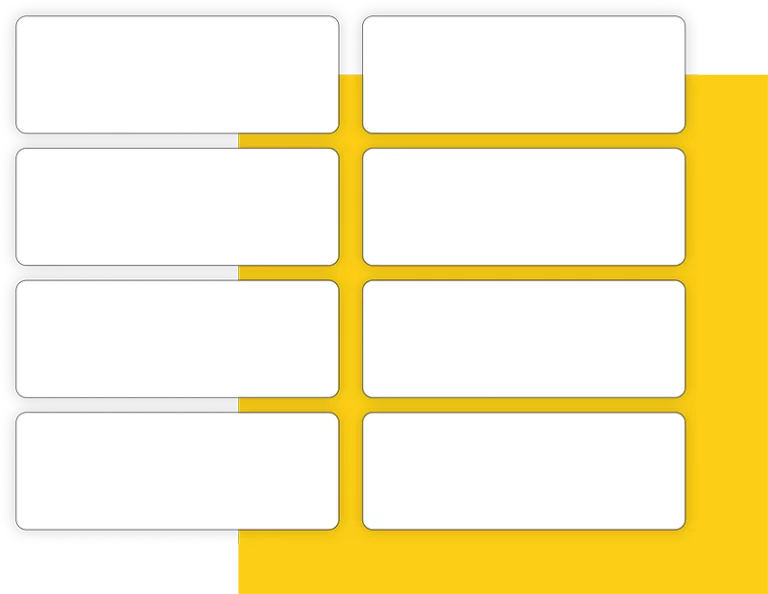
Step 2: Choose your layout
Once you know the sizes you’re working with, you can choose your template. Be it a single label, a full page of the same label or different labels on one page, a quality template will help you make the most of the space you have.
If you’re using the labels for sending out mail, make sure there’s plenty of space for the address. Other than that, how you choose to set out your label is up to you.
Do you need a lot of space for text? Or is an image or logo the most important feature? Perhaps you need a border or different-colored background to help highlight something important? Keep these in mind as you design.
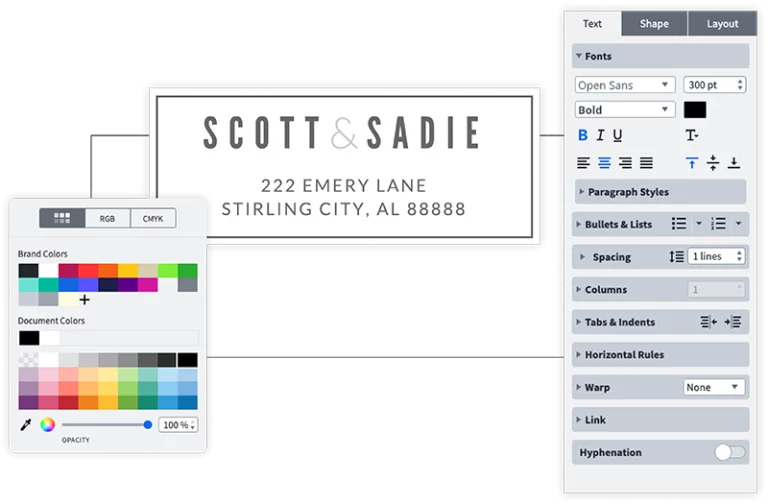
Step 3: Customize your template
Show off your personality and add some fun by customizing the text and adding a custom graphic. Change the font, font size and color according to your own preferences, as well as adding illustrations that suit the intended use. You could use text boxes, speech bubbles, images and logos to add character or keep it simple and elegant with plain text inside a single black border.
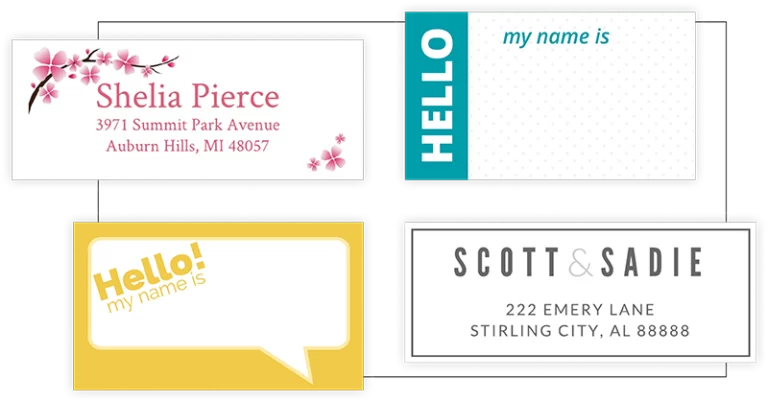
Does each label need to look the same? Or can you create many different labels on one page? You could use the same layout and content but change the colors, or keep the colors the same but swap out the images.
If you’re not sure, just try it out. In Marq, you can right-click to make a copy of your label template, then play around with the layout on the second copy.
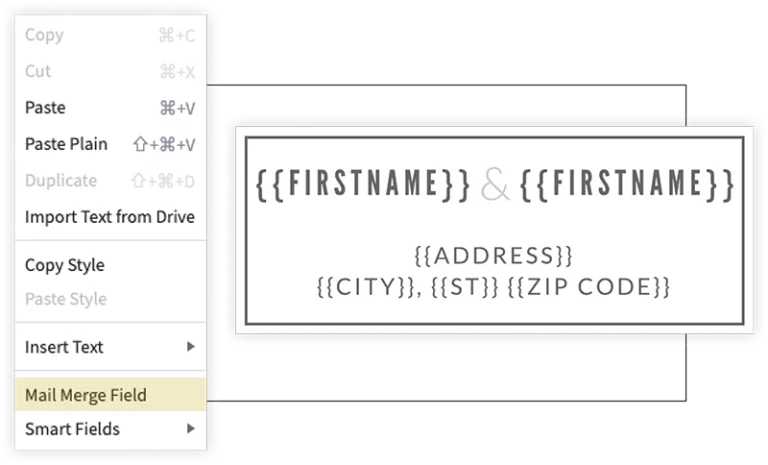
Step 4: Address list? Mail merge?
If you intend to use your labels to send out a mass mail drop, you might want to prepare an address list and run a mail merge.
There are various ways to achieve this, and it depends on the volume of labels you need and the amount of time you have as to how should you tackle it. For fewer labels, you may find it easier to simply type each label individually. For larger batches, this could prove too time-consuming and you may wish to use a data source that can be inserted automatically via a mail merge. Marq offers mail merge for enterprise-level accounts, and if this interests you, you can reach out to customer service for details.
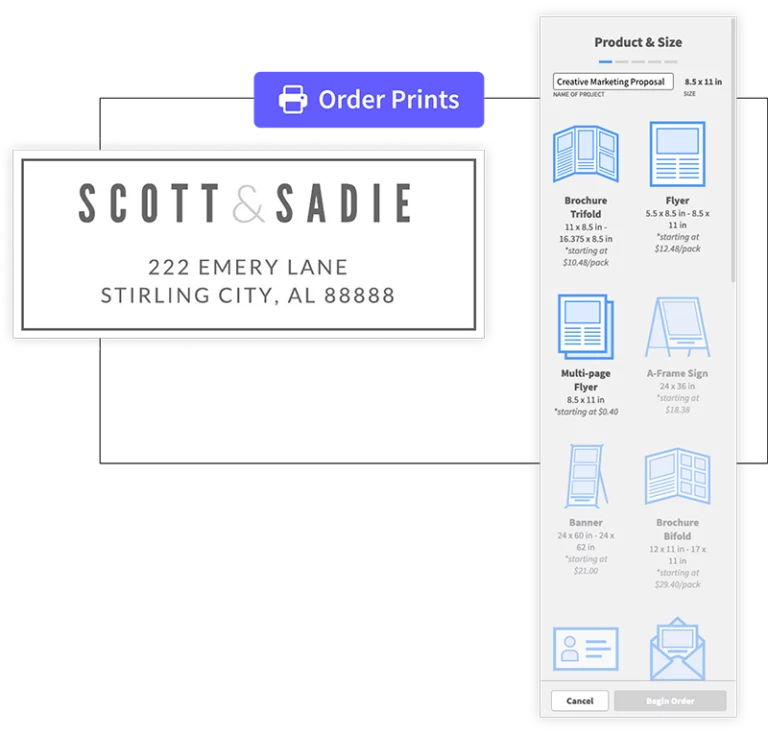
Step 5: Preview and print
Once you’re done, all that’s left to do is preview and print your labels. Before you send multiple pages of labels to print, remember to always do a test print first. Quality label sheets can be expensive, and the ink you’ll waste on printing labels that aren’t aligned properly will add further cost to your project. Once you’ve created a template that matches the size of your sheets and had a successful print run, be sure to save it for repeat use.
Ready to make your labels?
Create personalized labels online in Marq for a smoother, faster performance than Microsoft Word. Save your label designs online and work on them from anywhere. Share them with your team for edits and feedback, or download them instantly to print. Get started now with our range of free printable label templates.